The river around me is deep in places, yes you can fish the pole where top five rigs are commonplace, but in some areas, you’re top six deep. This, to me, is ok but can be seriously hard work, so over the last few years, I have taught myself to fish the Slider.
From the beginning, I looked online to gain knowledge of the Slider method. I also picked the brains of anglers both local to me and further afield. I’ve had my ups and downs and, some special tangles, along with some awful expletives too.
I now believe I have found a set up that suits me, it may not be everyone’s cup of tea, but it does me and helps me no end, it may also help you along the way too.
Tackle for Slider Fishing
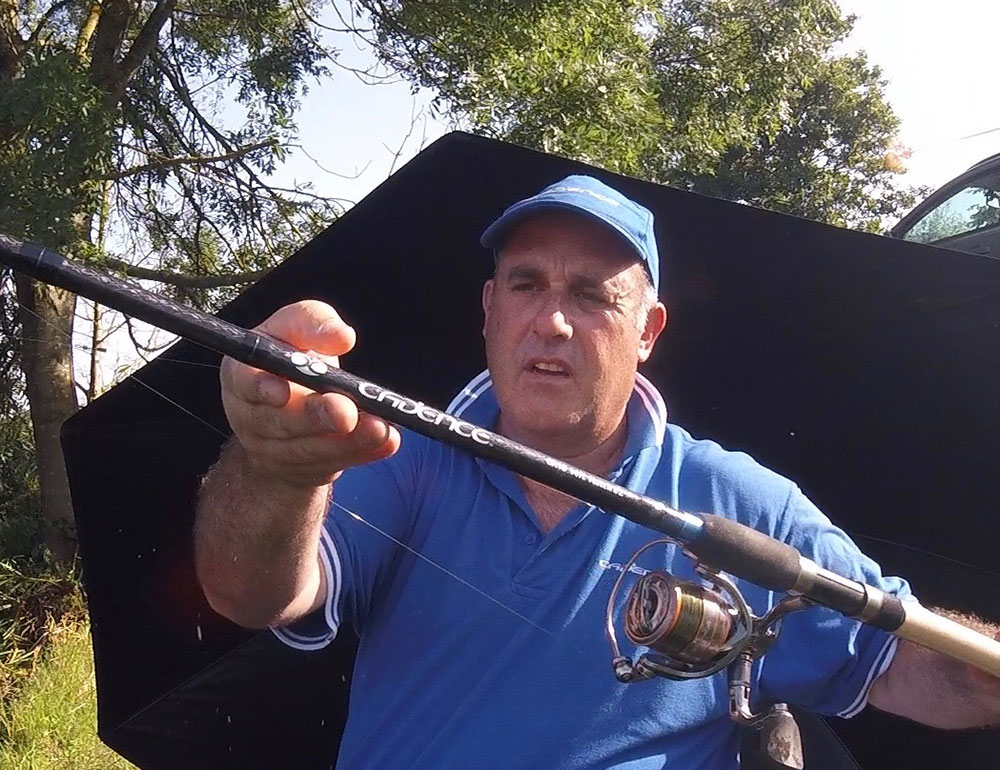
The type of rod needs some thought. Ideally, you need a rod that has a reasonably soft action, yet has plenty of backbone to punch the float out where you need it. My number one goto rod now is the Cadence CR10 14ft #2 Match rod. It has the perfect action, not only for casting but also soft enough on the strike to not bump any fish off. There are three rods in the range, but using 8 to 12g floats, I felt the #1 was too light and #3 too heavy for what I wanted.
Combined with the CR10 14ft #2 Match Rod, I go for the Cadence CS8 4000 sized reel, the magnesium construction makes it light and perfectly balances on the rod for a great combination.
Loading the reel with the line is where I had been making a serious mistake. Being from a river background, most of my waggler fishing previously had been using 2 to 3lb mainlines, so, naively, I thought everything would be fine and dandy to continue like this, boy was I wrong! The first few trips out I had tangle and tangle, and I couldn’t understand why. I even went through different brands of line.
After several calls and messages to anglers who use the Slider method regularly, I soon upped my game to 6lb mainline. This may sound heavy, but the extra thickness aids no end with stopping tangles, and with practice, they slowly began to ease. I’m now using the DH Angling Pro Float line, it’s supple yet very robust and sinks well without being treated, which is another plus for using it.
Floats for Slider Fishing
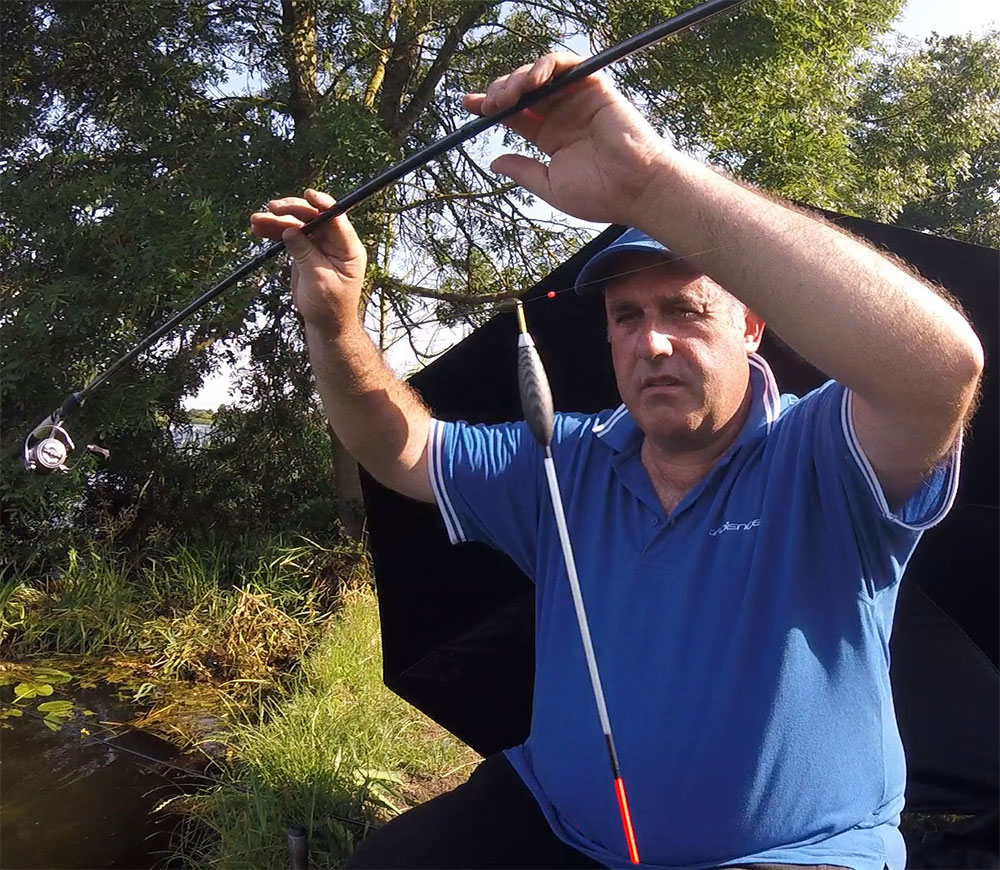
The choice of floats available is endless, and it can be a right minefield choosing something to suit your needs. I carry around a dozen to cover everything I think I may need, ranging from 6 to 14g. If it’s windy, then I prefer to use a float with a nice, hard plastic stem. I find this cuts through the wind better. This float also incorporates a fairly long tip, which again, helps when fishing in windy conditions, especially if there is a bit of a chop on the water. In flat, calm conditions, I prefer to use a float that incorporates a carbon insert. This makes the float ultra-sensitive and can be dotted down to a pimple if need be to spot the most delicate of bites.
My Slider Fishing Setup
With the right rod and reel setup, the correct mainline and floats selected, something still wasn’t quite right. It was then that I happened upon a setup that changed everything and turned what I was doing on its head. This is where it all gets a little bit “are you serious? That looks pretty shocking”.
Once all the line is threaded through the rod, I slide on a small-bore bead first and then a float. I like red or yellow, so I know where it is. Next, I slide on my “bulk” which in my set up is an inline olivette, fat end first, so it’s like an inverted teardrop. This is size-dependent on which weight float I’m using. For example, if I’m using a 10g waggler, then I will use an 8g olivette. The reason being will become apparent shortly.
Next, I always tie my sliding stop knot. This is where the bead comes into play, as the small internal diameter will hit against this knot and not pull through it, whereas the float on its own would do. I use either the same strength as my mainline for my knot as a minimum or go slightly bigger. I also like to use two stop knots, this helps against slippage but also enables you to fish off the bottom by moving one knot and leaving the other in place, so you always know where your starting dead depth is.
Next, I tie a small, double overhand loop in the mainline and stage one of the set up is complete.
To the loop, I attach a metre length of 0.20mm fluorocarbon using a simple loop to loop connection. The fluorocarbon has zero memory, which helps with any wrap overs when punching the float out to distance.
I then slide the olivette down, making sure this connection is actually inside the olivette itself, the loop knots will hold this in place and stop it from slipping.
Next, comes the fun bit or maybe the patient bit, whichever way you look at it. Below the olivette, I now start to attach some number nine-shot, I say some, as I am now beginning to create a stiff boom below my bulk. This line of shot I add can be anywhere from 20 to 30 and more, depending on the actual float. Not everyone I use is the same, so the number added can vary.
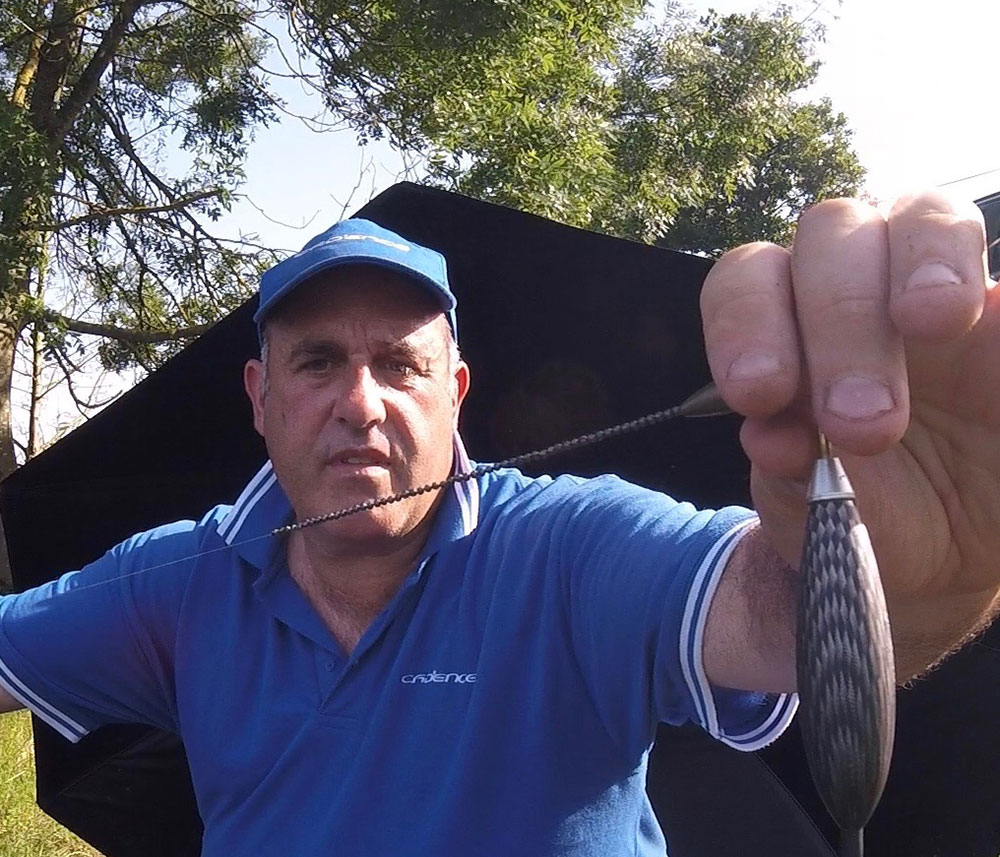
Once I have added around 20 shot, I will then test the float in the water and fine-tune by adding or removing as I need to. By the time the float tip is dotted to where I want it, the whole set up looks pretty weird, but works, my tangles are now to a minimum, which ticks all the boxes for me. Another advantage of the line of shot is that it also enables me to drop a few down onto the quick change swivel bead, where you are then fishing with a double bulk if need be. A quick change swivel is perfect for changing hook lengths as quickly as possible, but also to use a tiny dropper shot.

The hook lengths I use are all 10″ in length, I find this the perfect length and see no reason to go shorter or longer. I always start on either 0.11mm or 0.12mm line and use heavy floats, the strike needs to be positive, and you don’t want a weak hook length that could part on a strike.
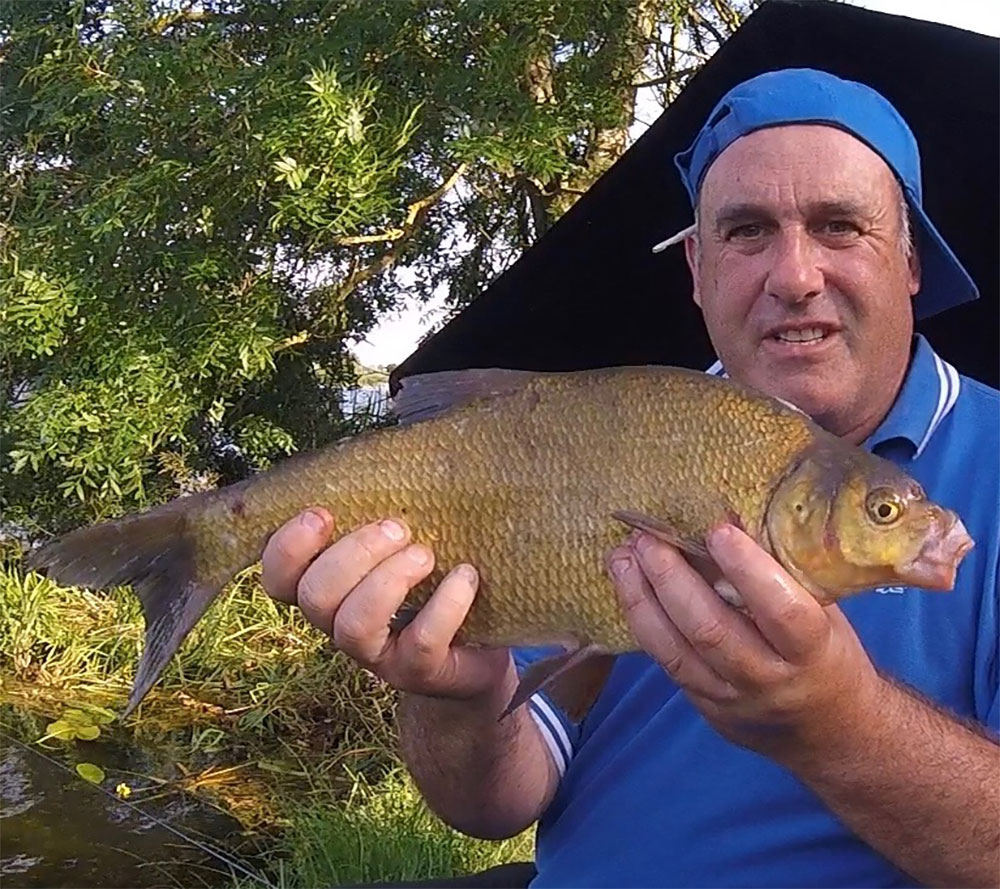
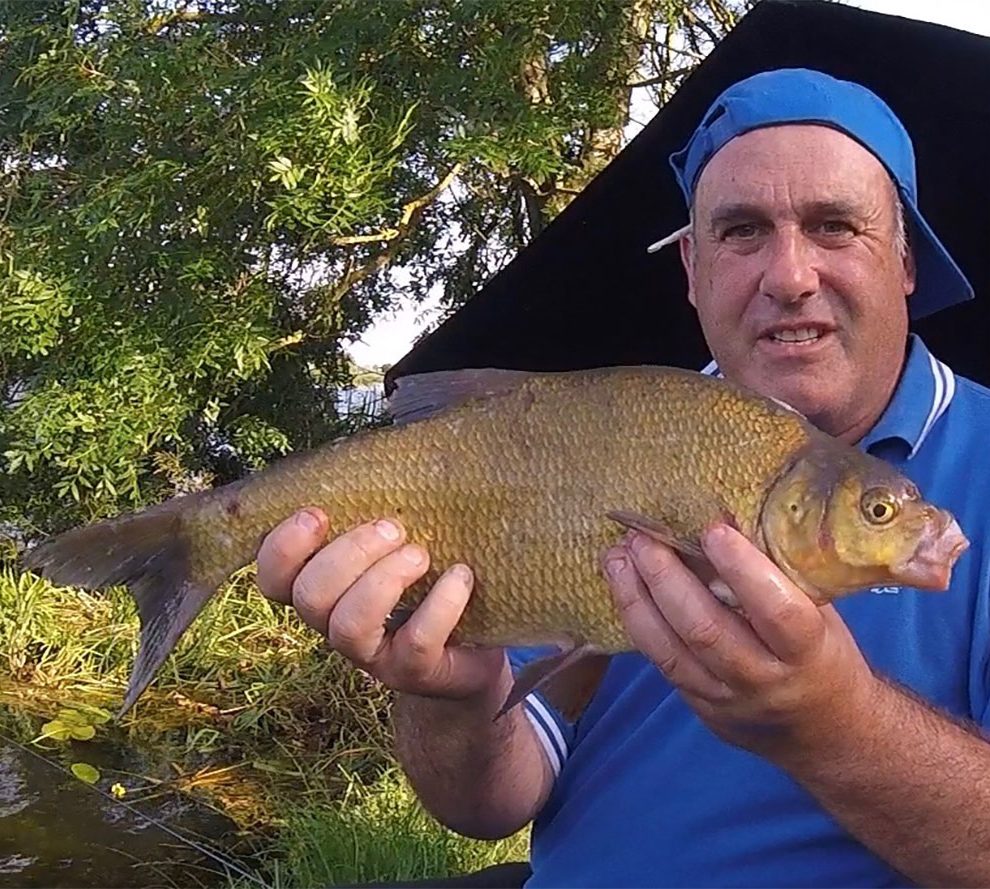
The hook itself is either a 16 or 14 PR344. This is a strong pattern yet fine enough for using smaller baits. I drop to an 18 in the colder months. The main species I target are skimmers, hybrids, roach, bream and occasionally a rogue tench. After all, my hook baits are double maggot or caster/corn or double worm, so a decent hook is required.
Feeding
Being deep water here, the best way to kick start your swim is to use groundbait. A good sticky or heavy mix is what’s required; after all, the depth could be over twenty feet deep in some areas. Four to six jaffa sized balls are the perfect way to introduce some feed into the swim. I don’t add a massive amount of loose offerings, as I want the balls to get to the bottom fully intact before breaking down.
Dead maggot/pinkie, casters and a small amount of chop worm, I find is about right for me. When I start fishing, I will know how any topping up needs to take place. For instance, if I’m catching roach, then they will like to feed up off the bottom and loose feeding hemp over the top, and using a big grain of hemp on the hook, can be deadly.
If it’s mainly skimmers or hybrids, then I want to try and keep them on the deck, so small golf ball top up sizes are perfect, with possibly the odd grain of corn fed over the top.
If I’m getting the bait intercepted on the way through the swim, then this is where the two stop knots come into play to slide the one up the line to enable fishing off the bottom. Also, the line of number nine shot I’ve attached, I can slide a few down to the hook length to get a hook bait to fall faster through the water.
Casting the Slider
From the off, this was an area I always thought I was right with, a nice gentle cast and feather the line on entry, nothing any different to what I have always done…wrong!
The float went out lovely, landed perfectly and yet, what a tangle I had. This was yet another area I needed to seek advice on, where was I going wrong? Are you casting off your bulk? Yes. Are you punching it out or are you casting like a 2AAA waggler? Like a 2AAA, nice and smooth. Well, forget what you know and punch it out! Don’t be afraid to go for it and feather as you would normally on entry to the water.
This was the final piece of the puzzle for me, and my jigsaw was complete, I’m not an expert by any means but, I can now punch a slider 30m if I need to and not get a hint of tangle or wrap over. Yes, I still get the odd cock-up when the wind isn’t favourable but, I’m now more than happy I can cast where I need to without fear.
I have a little phrase I use, punch it, feather it, sink it, cock it.
Punch the float out past your chosen area, feather the line on entry to the water. Immediately sink the rod tip under the water and bring in the slack line with a few quick turns of the reel. Open the bail arm, peel out some line and enable the float to slide as the olivette is sinking. Once the float hits the stop knot, it will cock normally, and you’re fishing.
If the float does not dot down correctly as you set it then there is a good chance the hook bait has been intercepted, so strike!
Most of the bites will either be a slow slide under or a lift, but I strike at anything that doesn’t look right.
So there you have it, my way of fishing the Slider! Everybody has a way that works for them, and this is mine, try it for yourself, it may also work for you.