Most of my season so far has been taken up fishing for big bream on the relief channel. Once the back end of September rocks up and we head into Autumn/Winter, and when the weather is right, there is nothing I like more than fishing the slider.
My local River Ouse is the perfect venue for this, a deep, slow-moving piece of water. By deep, in some areas along the length, it can be over twenty-foot deep, which lends its hand to the slider perfectly.
Fishing the slider itself was alien to me for many years and, when I did try it, I ended up with tangle upon tangle! Undeterred and after lots of input from anglers along the way, I finally managed to get a set-up that worked for me.
Fast forward to the present day, and it is a method that forms a part of my armoury, especially when a few roach and skimmers could be on the cards.
Tackle for the Slider
Cadence has an amazing range of rods to choose from, and having three different actions in most of the lengths, covers all eventualities. Fellow Cadence Brand Ambassador Alan Barnes recently wrote a detailed and informative article explaining the different rod choices and actions. If you doubt which rod to choose, it is a very helpful article to read. You can read the article here.
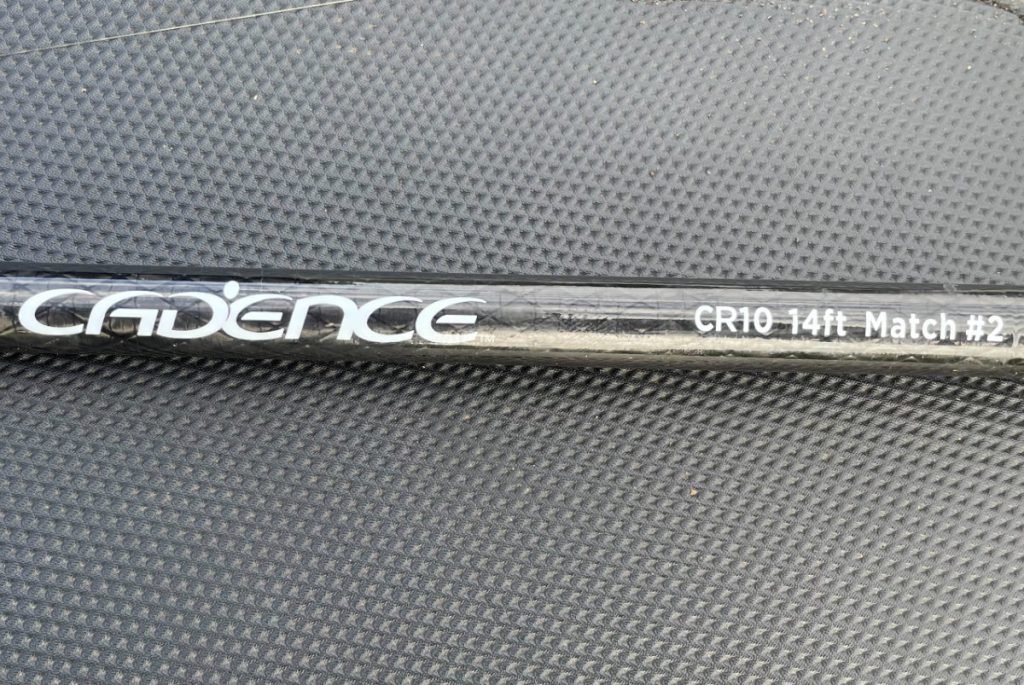
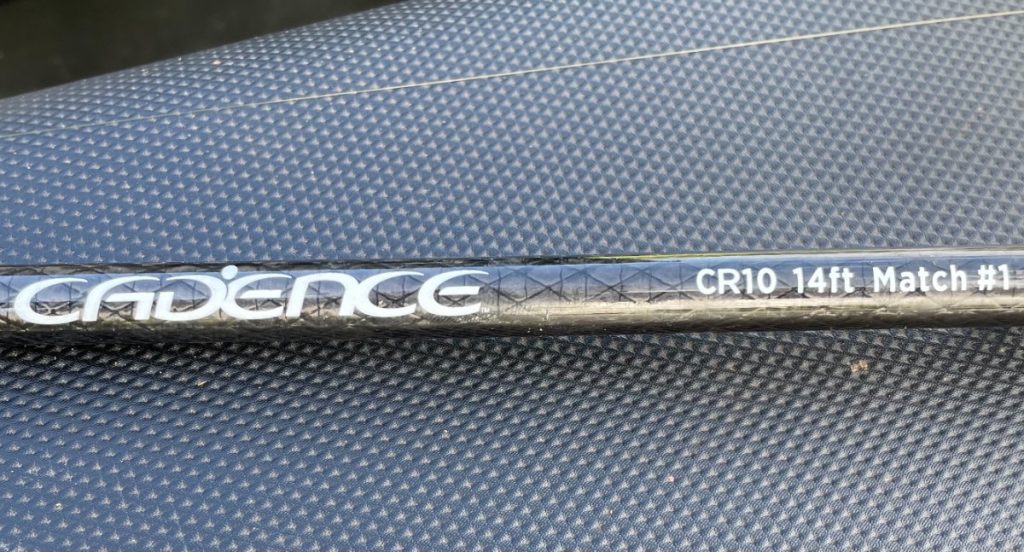
My preference for fishing the slider is the Cadence CR10 14ft rods, where I use the No 1 and No 2 rods. The CR10 14ft #2 is a medium action and my usual go-to rod for 8g sliders upwards, which I use for most of my fishing. The CR10 14ft #1 is the softest action of the range, which I use for sliders up to 8g, ideal when roach are the main target. I pair both rods with a 4000 sized reel. In this instance, I’m using the original CS8 reels with 6lb line.
Mainline is massively important, which was something I found out to my peril. Fishing a waggler on the Warwickshire Avon, where I grew up, was always 2.6lb mainline for me, and I thought the slider would be the same. What could go wrong?
Well, tangles and more knots than you could physically tie yourself are commonplace, and I was given the advice to use 6lb and 0.20mm diameter minimum. I was sceptical as I had only ever used a line that heavy for barbel. But, once it was explained to me why it all started to fall into place. The thicker diameter was less prone to wrap overs being a little thicker and was far more durable when moving the slider knots about.
Setting up for Slider Fishing
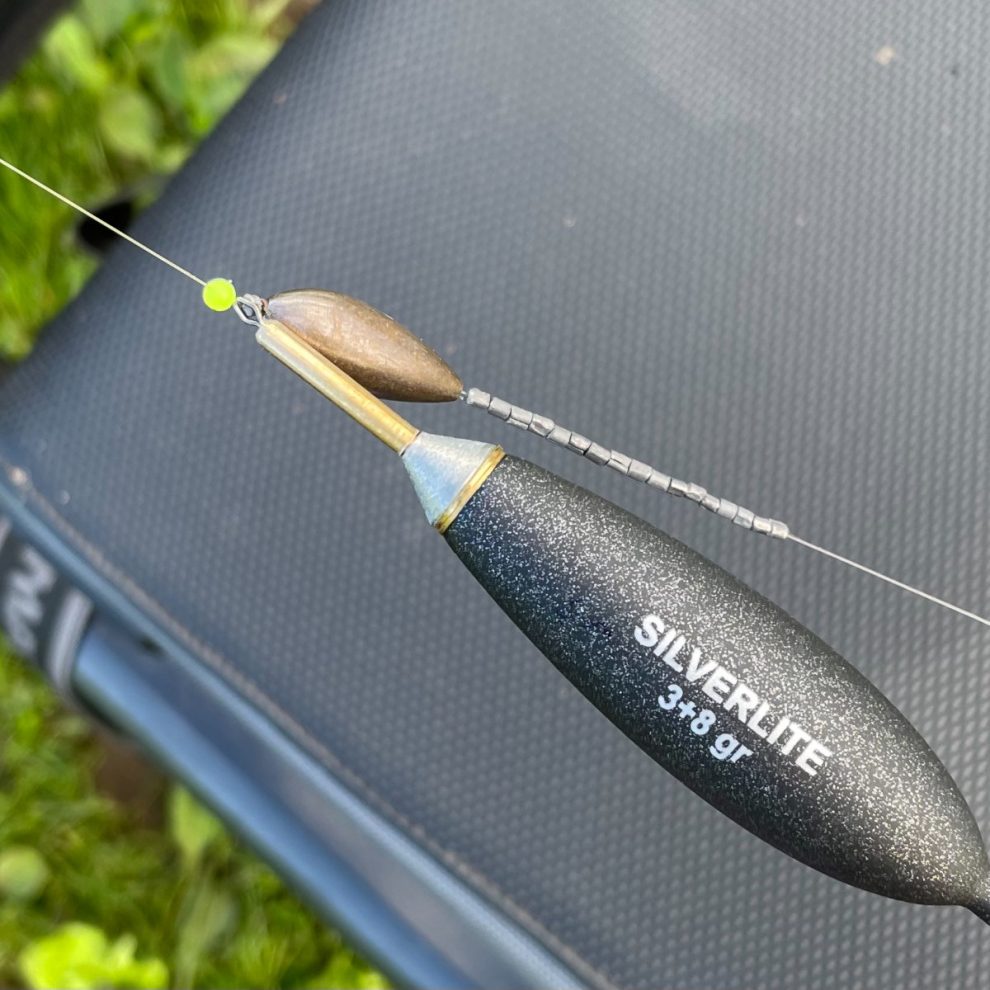
My slider set-up is not the prettiest by any means but works for me, which is what counts.
The first component is a small-bore plastic bead. This is threaded onto the line first, which acts as the buffer above the float when hitting the stop knots.
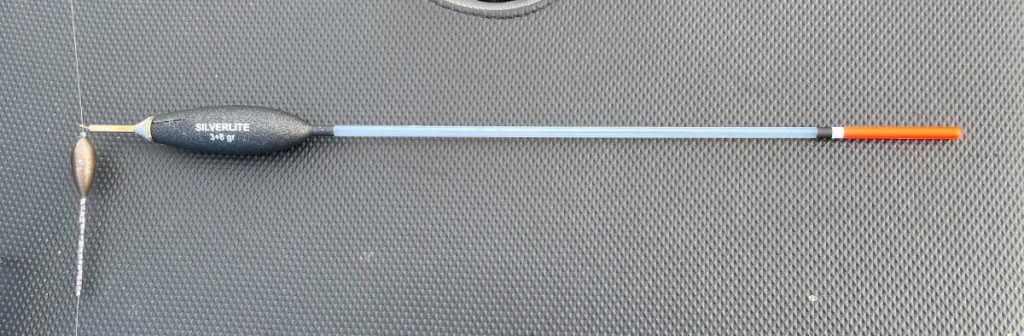
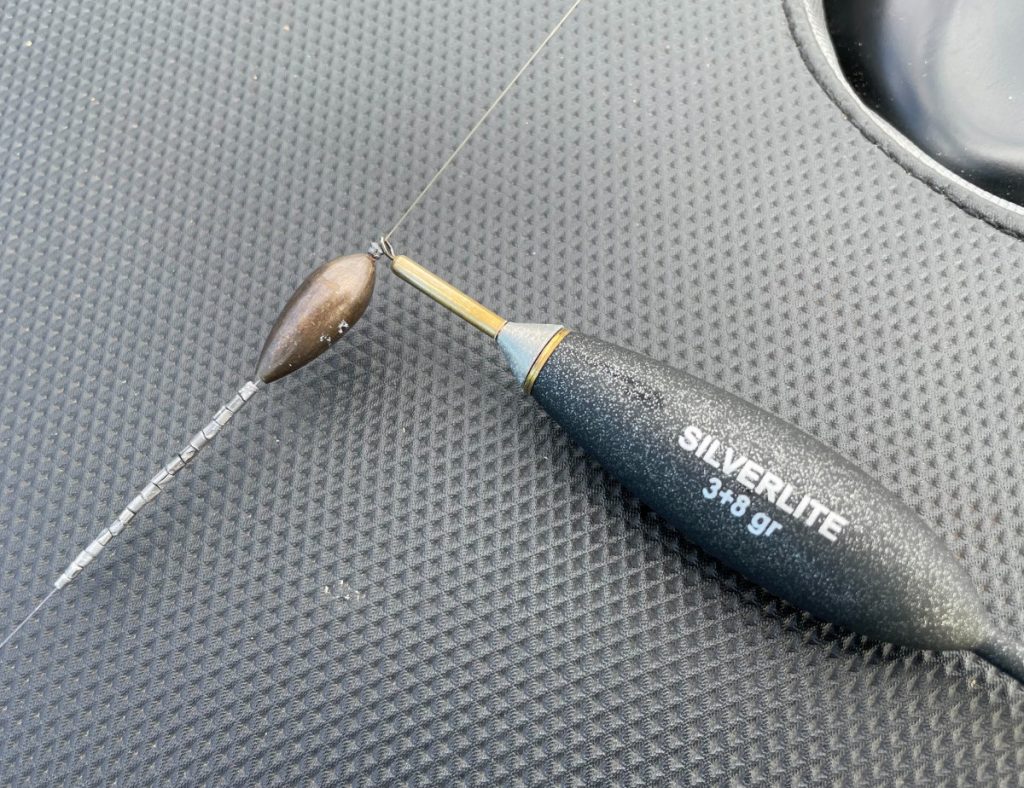
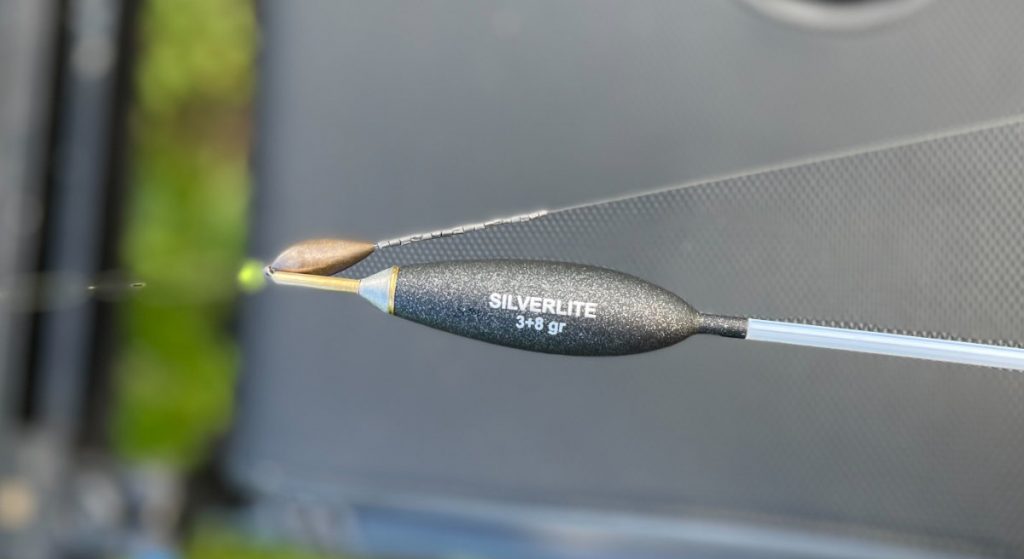
Next onto the line is the float, which can be a minefield with so many available on the market. I carry everything for 6g up to 14g. The biggest thing to look for is a float with a minimum of 2g loading built into it. I find a 3g loaded float perfect. This helps the float sit on the bulk shot or olivette when casting, reducing tangle risk. Most designated slider floats have a diamond-shaped eye on the base of the float. This is designed in this way so stop knots don’t pass through.
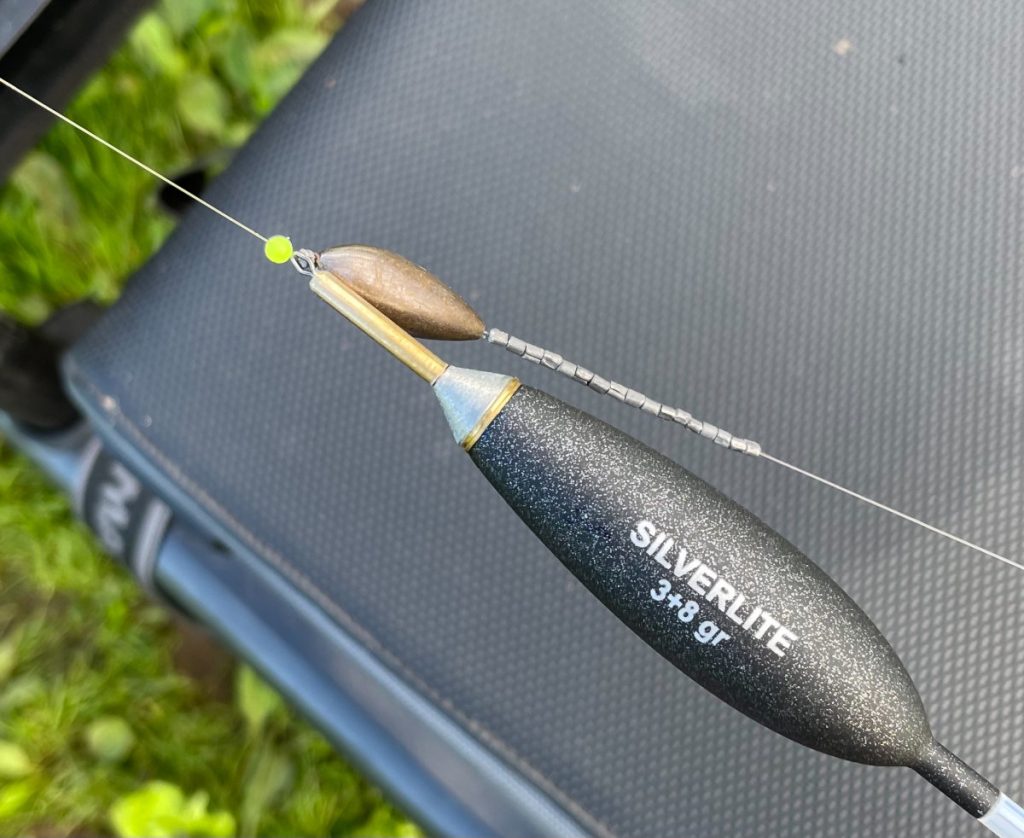
Next is the bulk shot. My choice is an olivette. If I’m using a float with 3g loading and 8g down the line, I will use a 7g inline olivette. This gives me some left over for my anti-tangle boom of shot.
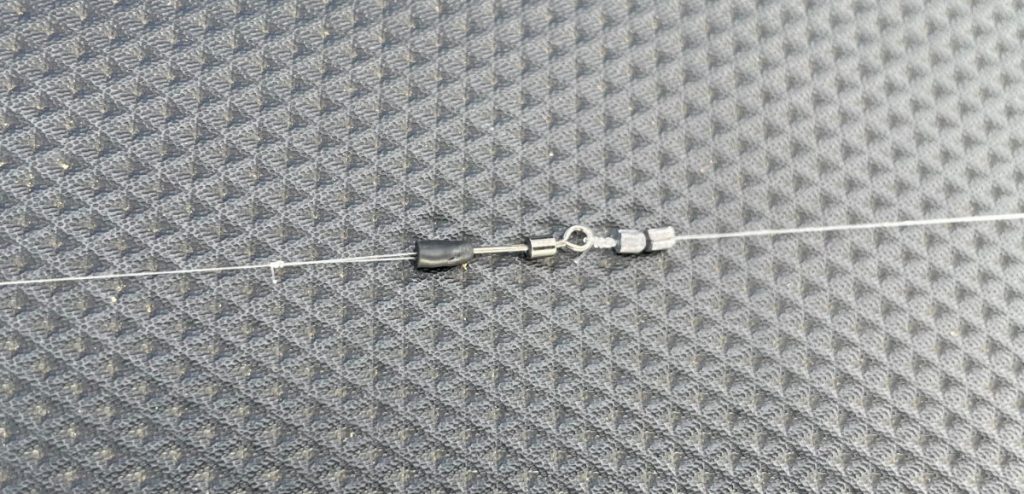
Once the olivette is slid onto the mainline, I tie a small double overhand loop in the bottom, and to this, I attach via a loop to loop a 3/4 to 1m length of 018.020 fluorocarbon. The olivette is then slid down onto this connection, which covers it and will grip the olivette in place. Underneath this, I use a line of number 8 Stotz or shot to create a small boom that prevents the line from wrapping over the olivette, the main cause of tangles. I usually have the last few as number 9s, so I can then slide these down on top of the small swivel.
At the bottom end of the fluorocarbon, I attach a small quick-change hook length swivel, which helps to reduce tangles and line twist.
Lastly is my hook length, which I’ve recently gone from 10 to 14inch in length, usually in a 010 or 012 diameter.
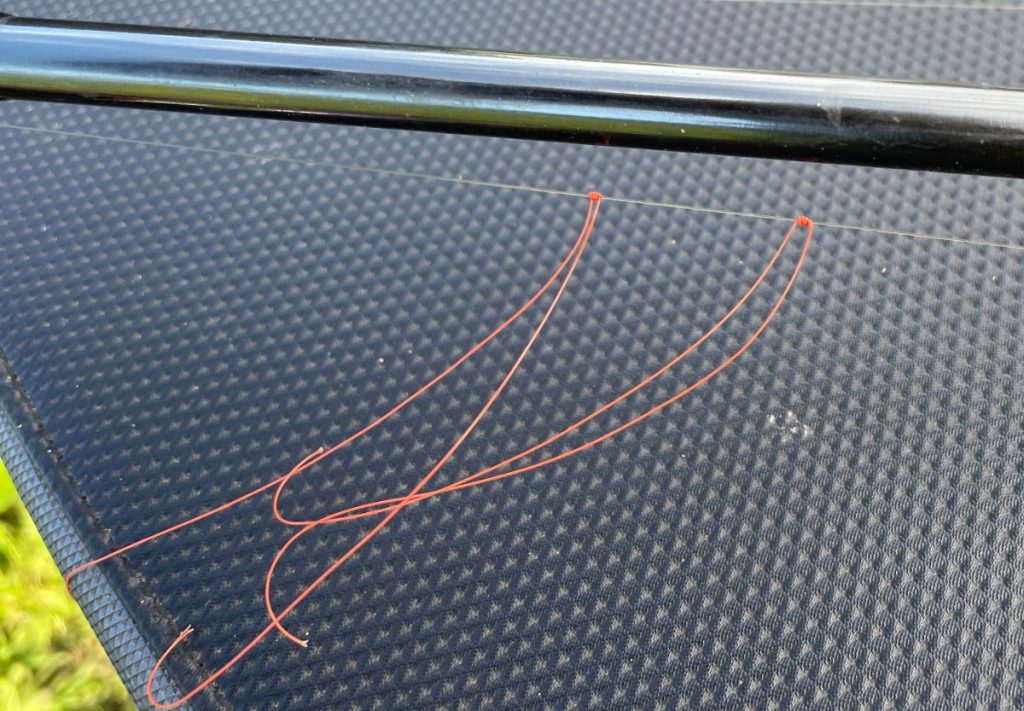
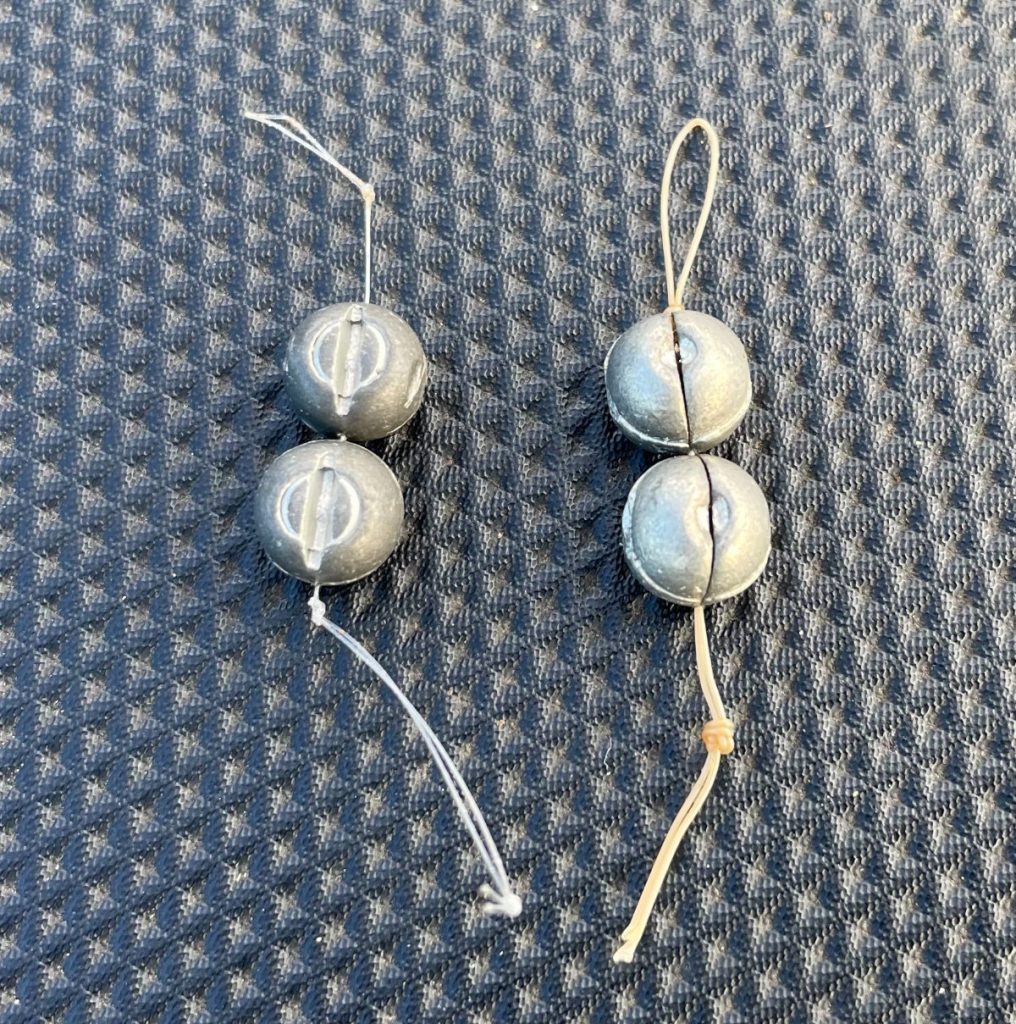
The main component of any slider set-up is the stop knot itself, or, in my case, stop knots, as I like to use two. The reason I use two is to act as a backup should I suffer a knot slippage, and more importantly, the one-stop can stay in place while I can move the other back up the line if I want to fish off the bottom. The original knot stays in place, and you will always be able to easily return to the original starting depth.
There is no need to be fancy with the line for the knot, and using the same as the mainline is ideal. I like to use a similar diameter to my mainline, but it is a different colour. This is so it is easier for me to see where it is compared to the other knot when moving them about. You must always leave a good length on the tag ends and not trim off flush when tying the knot. I leave mine around two to three inches in length. These will pass through the rod rings easy enough, folding back on each other when casting.
Plumbing Up
As with any form of float fishing, plumbing up is massively important. I do this one of two ways on the river here, first is by using a clip-on plummet onto a shot just above the swivel.
The second is very similar, but instead of using a plummet, I tie a small loop of line and squeeze on two SSG shot onto it. This loop is then attached to a quick-change swivel, and I plumb up to that. Once I have found dead depth, both the knots are butted together. Whatever length of hooklength you are using, the knots can be adjusted accordingly, depending on how far you want to fish over depth. I like to start anywhere between 3 and 6 inches.
Feeding
For me, the only way to kick off the swim is with several balls of groundbait packed with either caster or dead maggot. Four to six balls are usually more than enough to get a few fish grubbing around. I usually have two balls dead in front of me and the rest slightly down to the left at around 12 and 11 o’clock.
Being predominantly a deep water method, a good heavy mix is needed, so the bait gets to the bottom without breaking up mid-water. I like to mix my groundbait the evening before, so all the particles are fully absorbed and needs little tweaking on the bank.
I tend not to loose feed as a rule because the fish can easily come up of the bottom, and when fishing 18 to 20ft deep, it can be a nightmare trying to find the depth they are feeding. So anytime I feel the need to feed, it’s done via two balls of groundbait to keep the fish nailed down.
Fishing the Slider
Once the feed has been introduced, it’s time to fish! By casting direct off the bulk, the float will sit on top of it, and a simple cast, feathering the line on impact is all that is required. I then sink the rod tip, give the reel a couple of turns to sink the line and open the bail arm to feed the line out until the float hits the stop knot. Once the float settles, you can read any indications on the way through while the hook length reaches the bottom.
When conditions allow, I prefer to have the float dotted, so around 10mm of the tip is showing. This shows any lift bites easier when laying on.
Fishing the slider is a very busy method, especially if the water is moving a little. You don’t want to be running too far past the feed, so being accurate on where you’ve fed the ground bait is key.
Once you’ve got your head around fishing the slider, it is a brilliant method to use. Don’t be fooled into thinking it is just a deep water method either, as I’ve used it 12ft of water as well as the deeper 16ft plus areas.
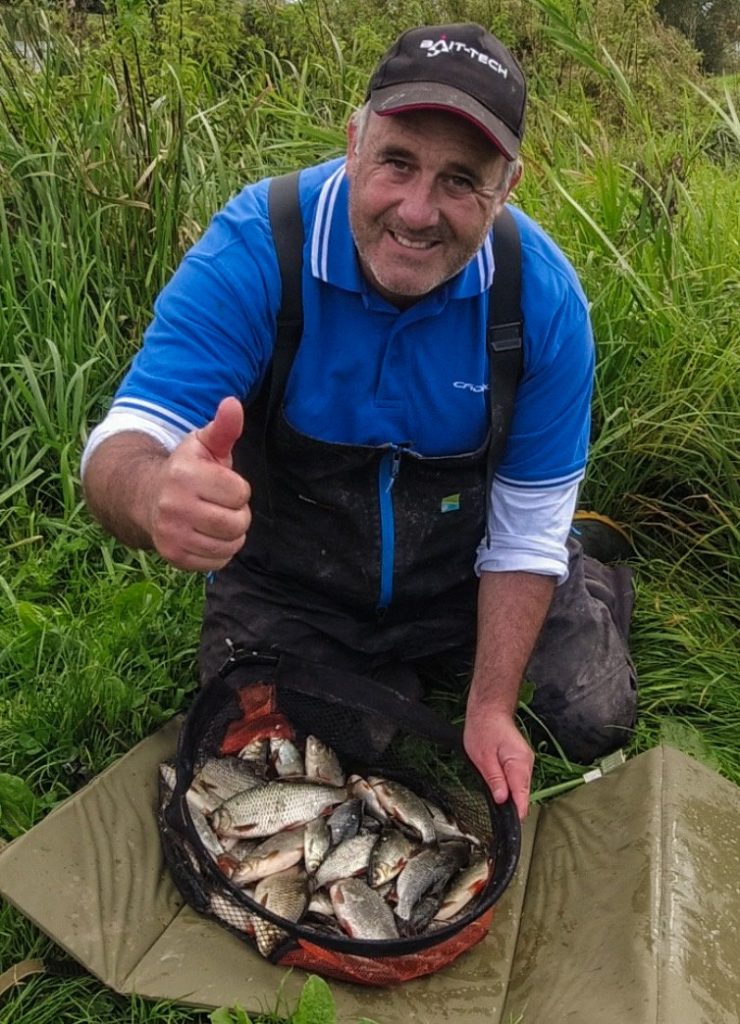
Give it a go as if at first you don’t succeed, keep practising, as once you’ve cracked it and the float goes under with a big bream or pristine red fine, it is an amazing feeling.